About This Class
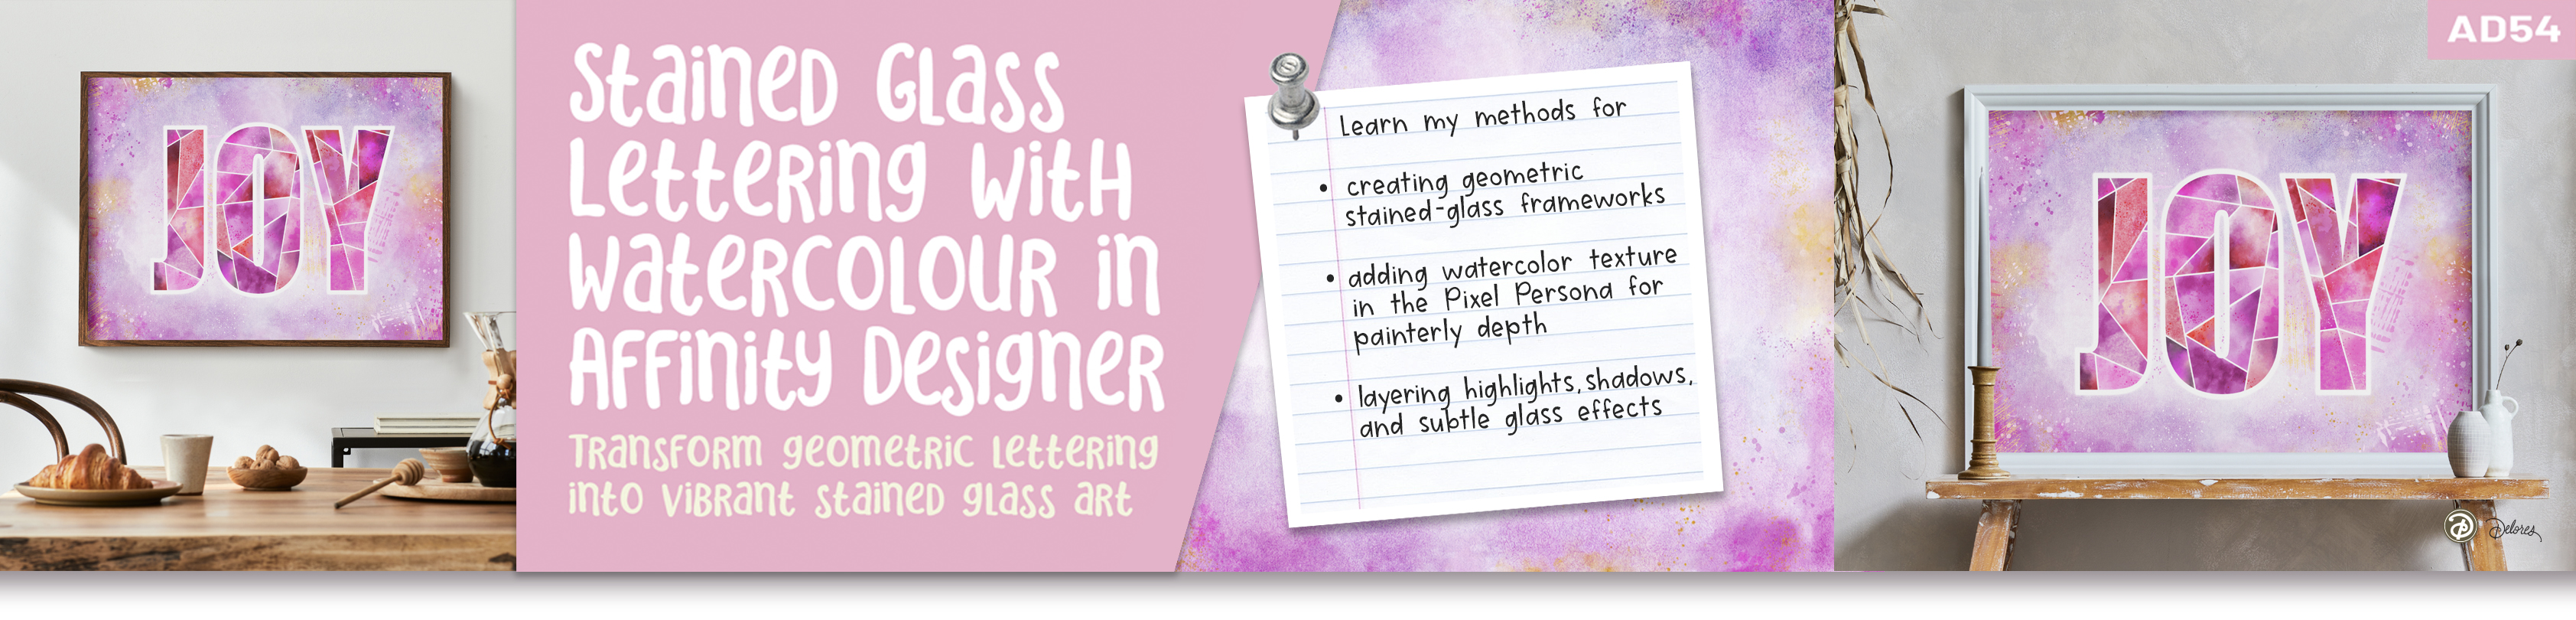
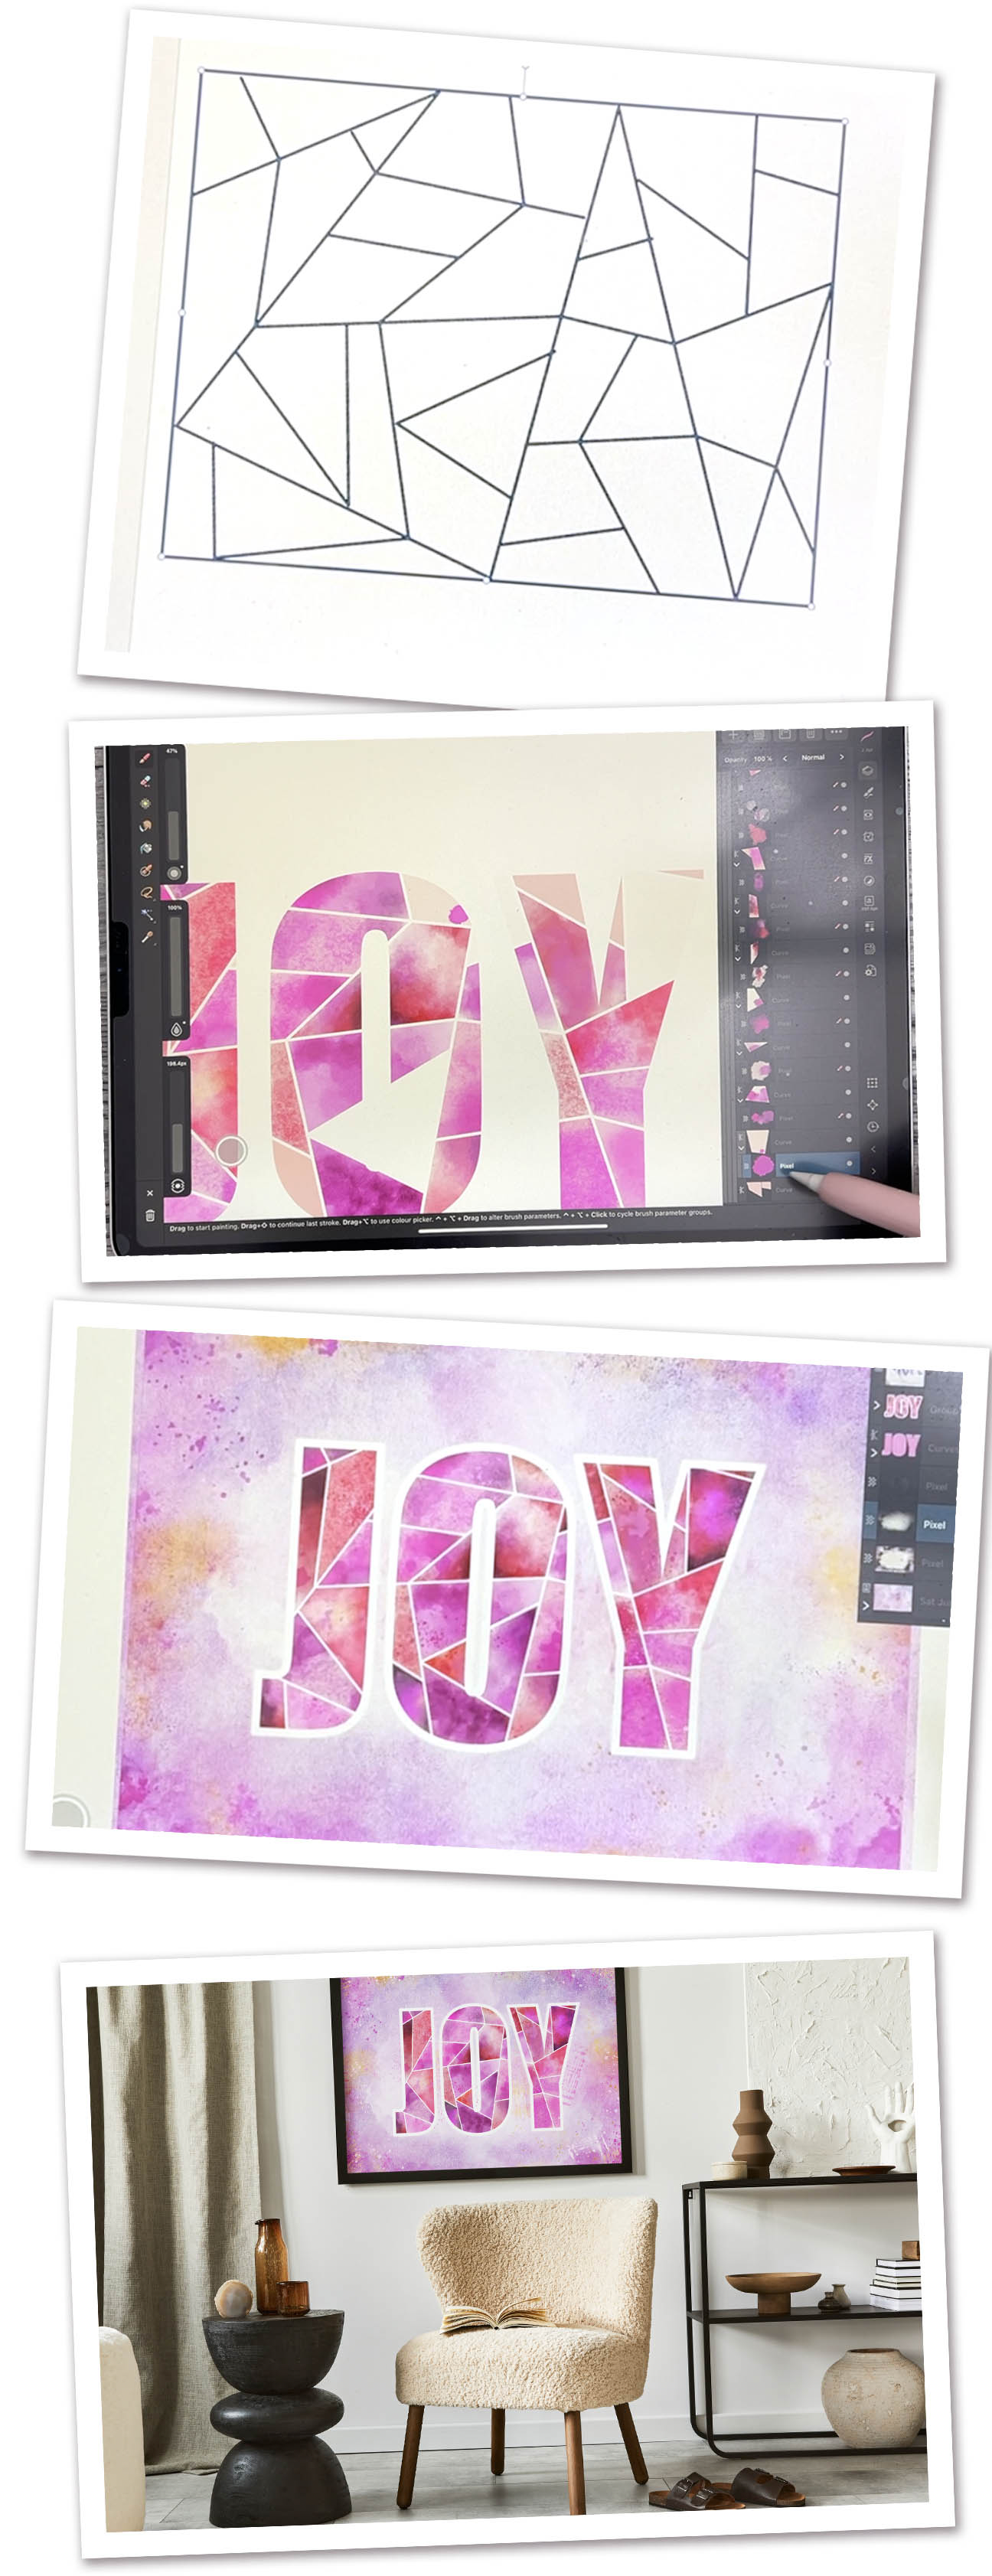
Create stunning stained-glass inspired lettering right inside Affinity Designer on iPad! In this class, you’ll turn simple geometric lines into vibrant watercolor artwork. We’ll start by drawing stained-glass frameworks, expand and separate shapes, then clip them into bold letters that we’ll paint with Pixel Persona. You’ll learn layering, blending, and texturing techniques that bring light and depth to your lettering.
This project is approachable for all levels and especially fun for artists moving from Procreate to Affinity Designer. You’ll discover how to combine vector precision with painterly effects, using easy-to-follow steps that make your designs feel handcrafted and full of personality.
Across seven lessons, you’ll see each part of the process come together—building the grid, creating the letterforms, painting textures, and adding those final touches that make your artwork shine on cards, prints, and more.
In this class I’ll walk you through
- Setting up your stained-glass framework using geometric lines
- Expanding strokes and separating curves into paintable shapes
- Creating bold lettering masks for your watercolor panes
- Painting rich watercolor textures with Pixel Persona brushes
- Adding subtle spatters, highlights, and shadows for realism
- Building a background wash and refining your final piece
-
Exporting for greeting cards, print, and sharing online
The Key Concepts I will include
You’ll learn how vector and raster tools can work together beautifully: clean curves meet expressive color. I’ll show you smart, repeatable workflows—expanding, masking, blending, and layering—to create believable stained-glass effects without fuss. Each step is practical and easy to apply to future lettering or pattern projects. Take it at your own pace and enjoy the process of painting digitally while keeping full control of your design.
The Curriculum
- Intro to AD 54 Stained Glass Lettering (1:21)
- Lesson 1 Geometric Stained Glass Frameworks (8:39)
- Lesson 2 Dividing Spaces and Preparing Lettering Shapes (8:03)
- Lesson 3 Adding Watercolor to Each Letter Section (6:23)
- Lesson 4 Enhancing Lettering with Textures and Details (7:32)
- Lesson 5 Customizing and Finalizing Your Lettering Design (11:10)
- Lesson 6 Closing Thoughts, Mockup and Wrap Up (0:46)