About This Class
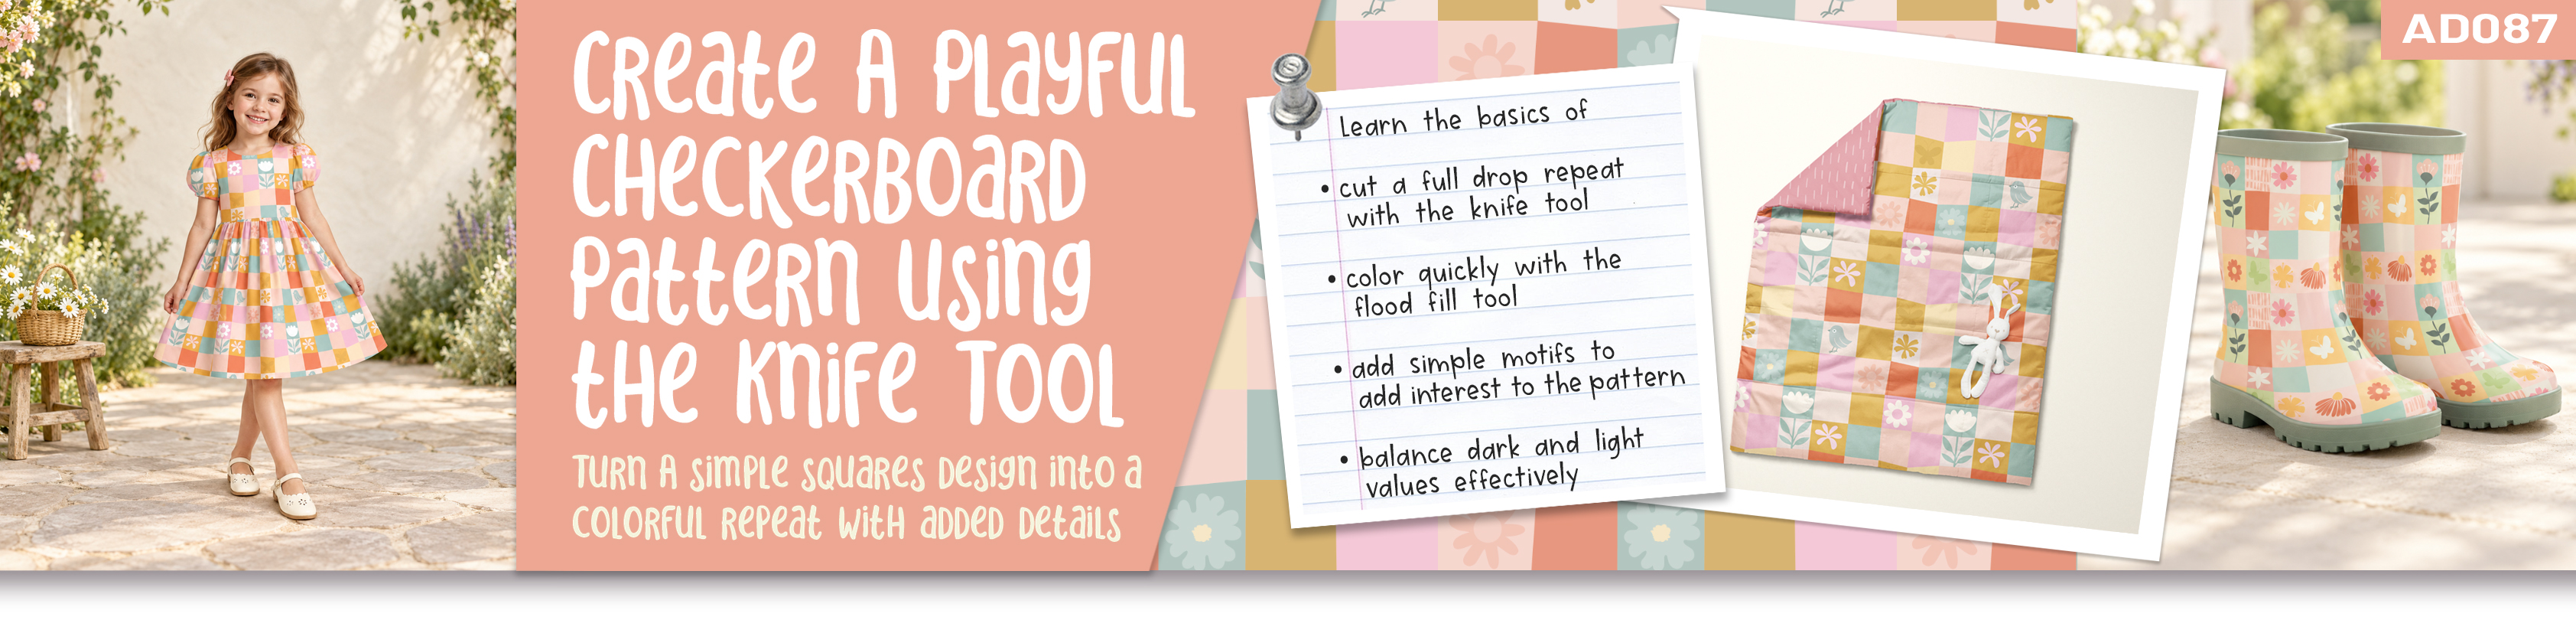
A checkerboard gives us a wonderfully simple place to start, but the squares don’t have to be perfectly straight. In this class, I’ll show you how to use the Knife Tool in Affinity Designer to cut a full drop repeat into individual checks. A few uneven lines give the pattern a relaxed, handmade feel.
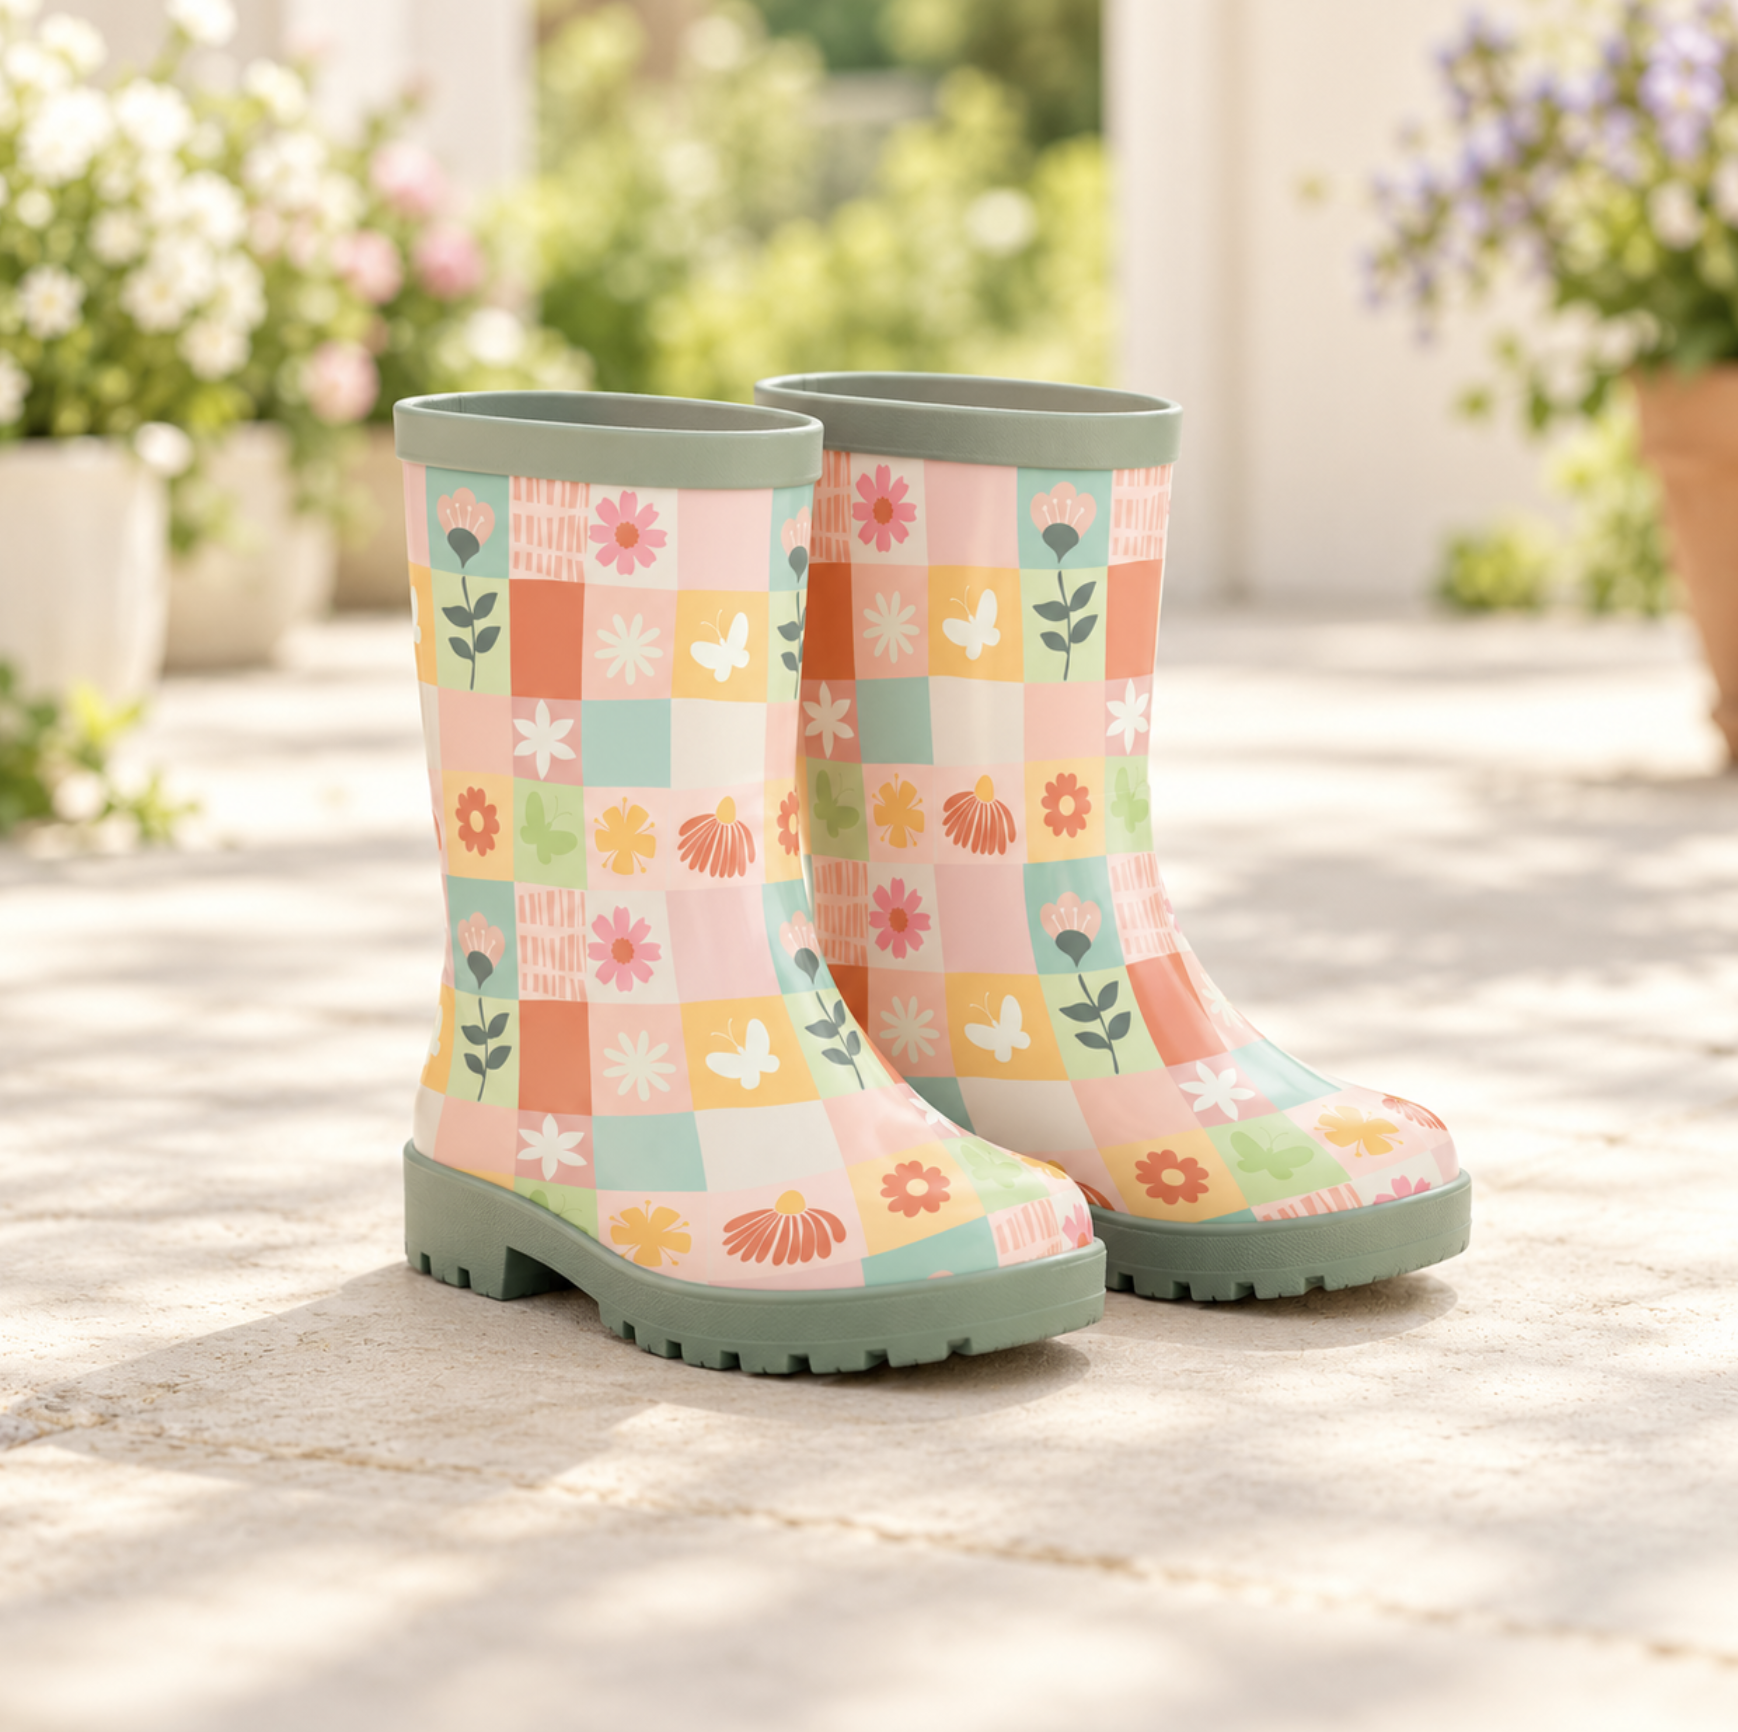
We’ll colour the squares with the Flood Fill Tool, adjust some of the edges, and look at how neighbouring colours work together. Then we’ll add a few simple motifs to selected squares. Flowers, leaves, or other little shapes can give the design more character without filling every space.
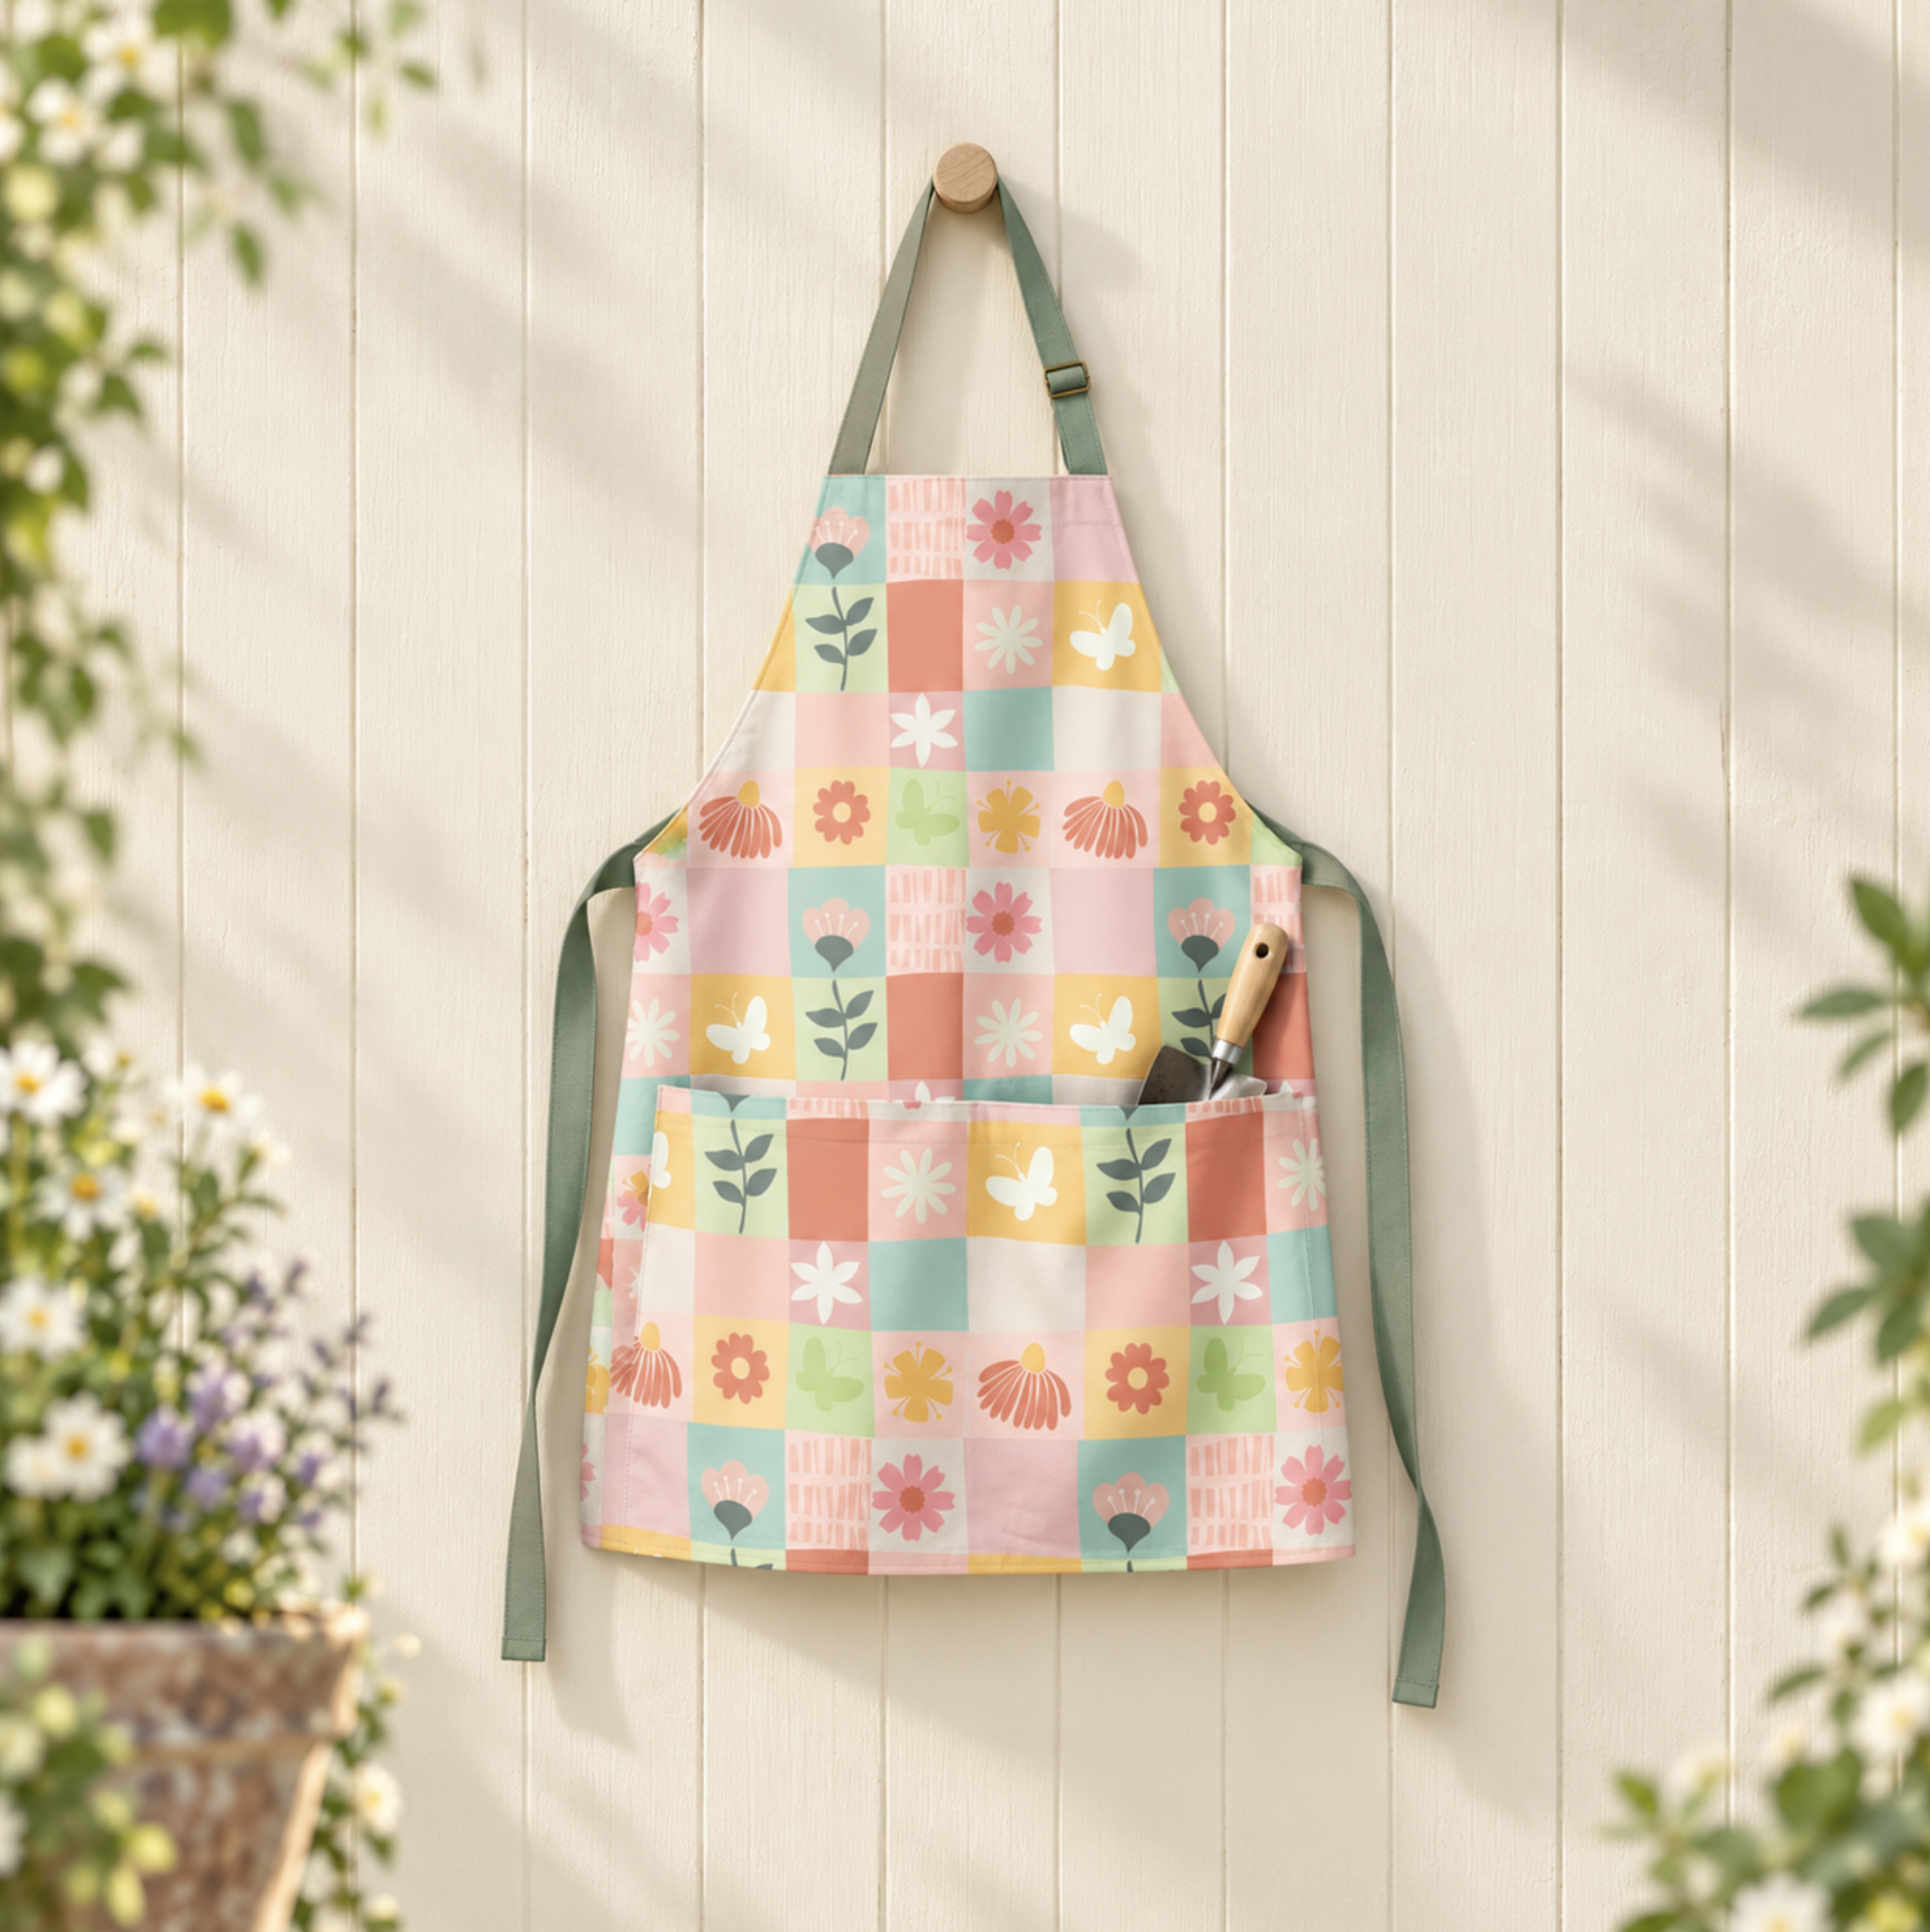
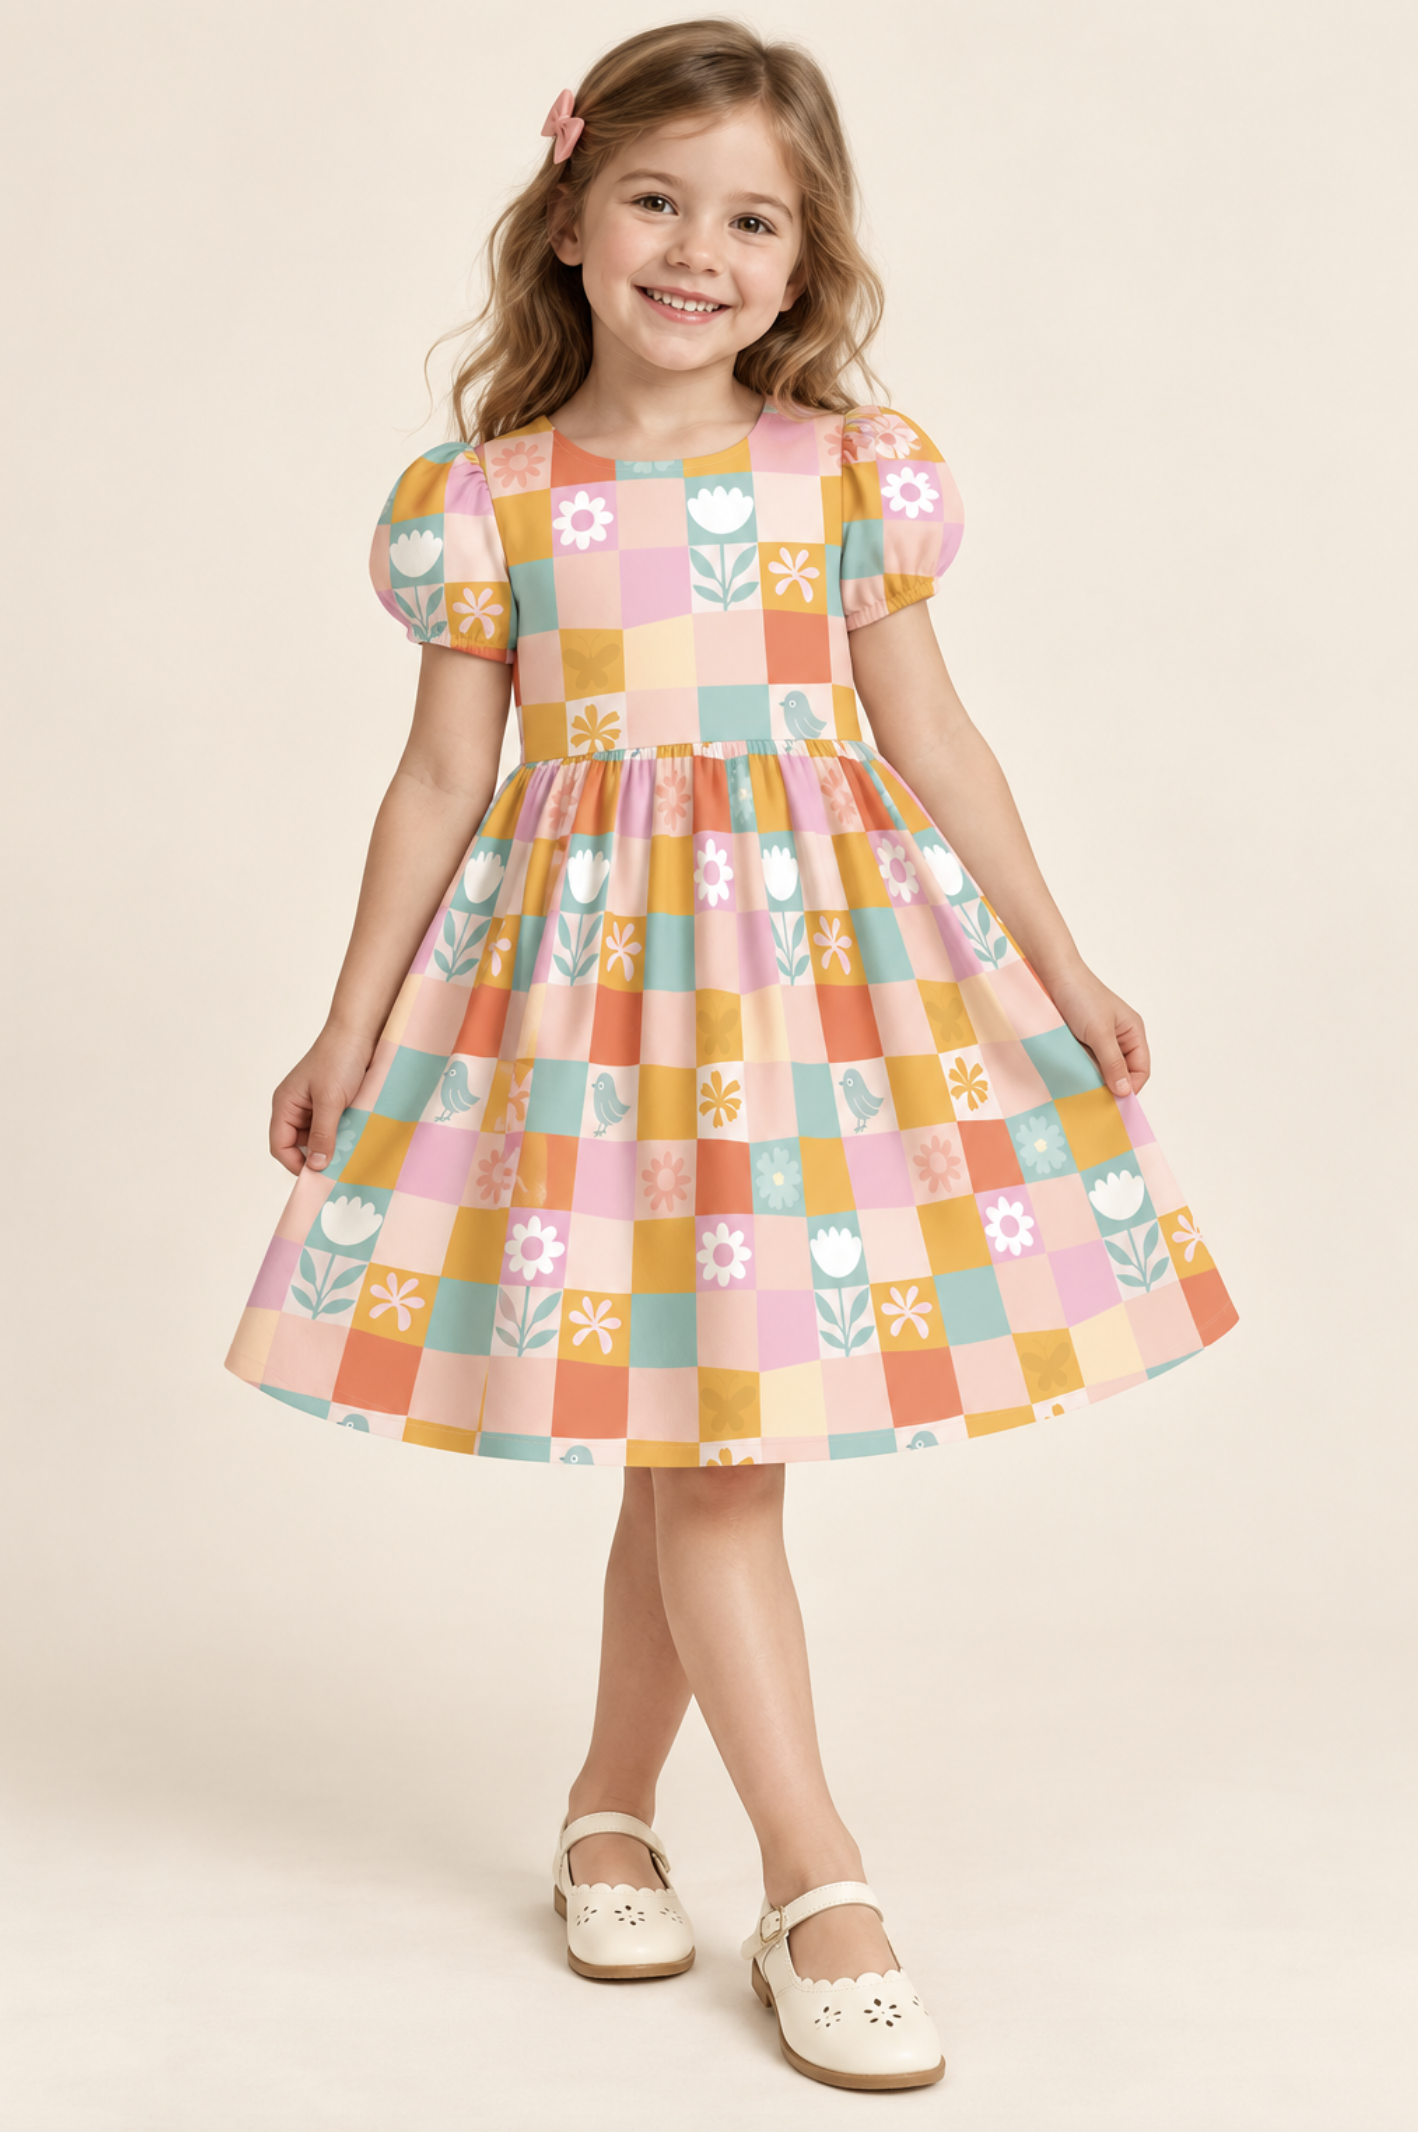
You’ll finish with a repeating pattern that could stand on its own or work as a coordinate in a collection. The class includes an introduction, three working lessons, and closing thoughts. Follow my example if it helps, but feel free to choose colours and motifs that suit your own style.
In this class I will walk you through…
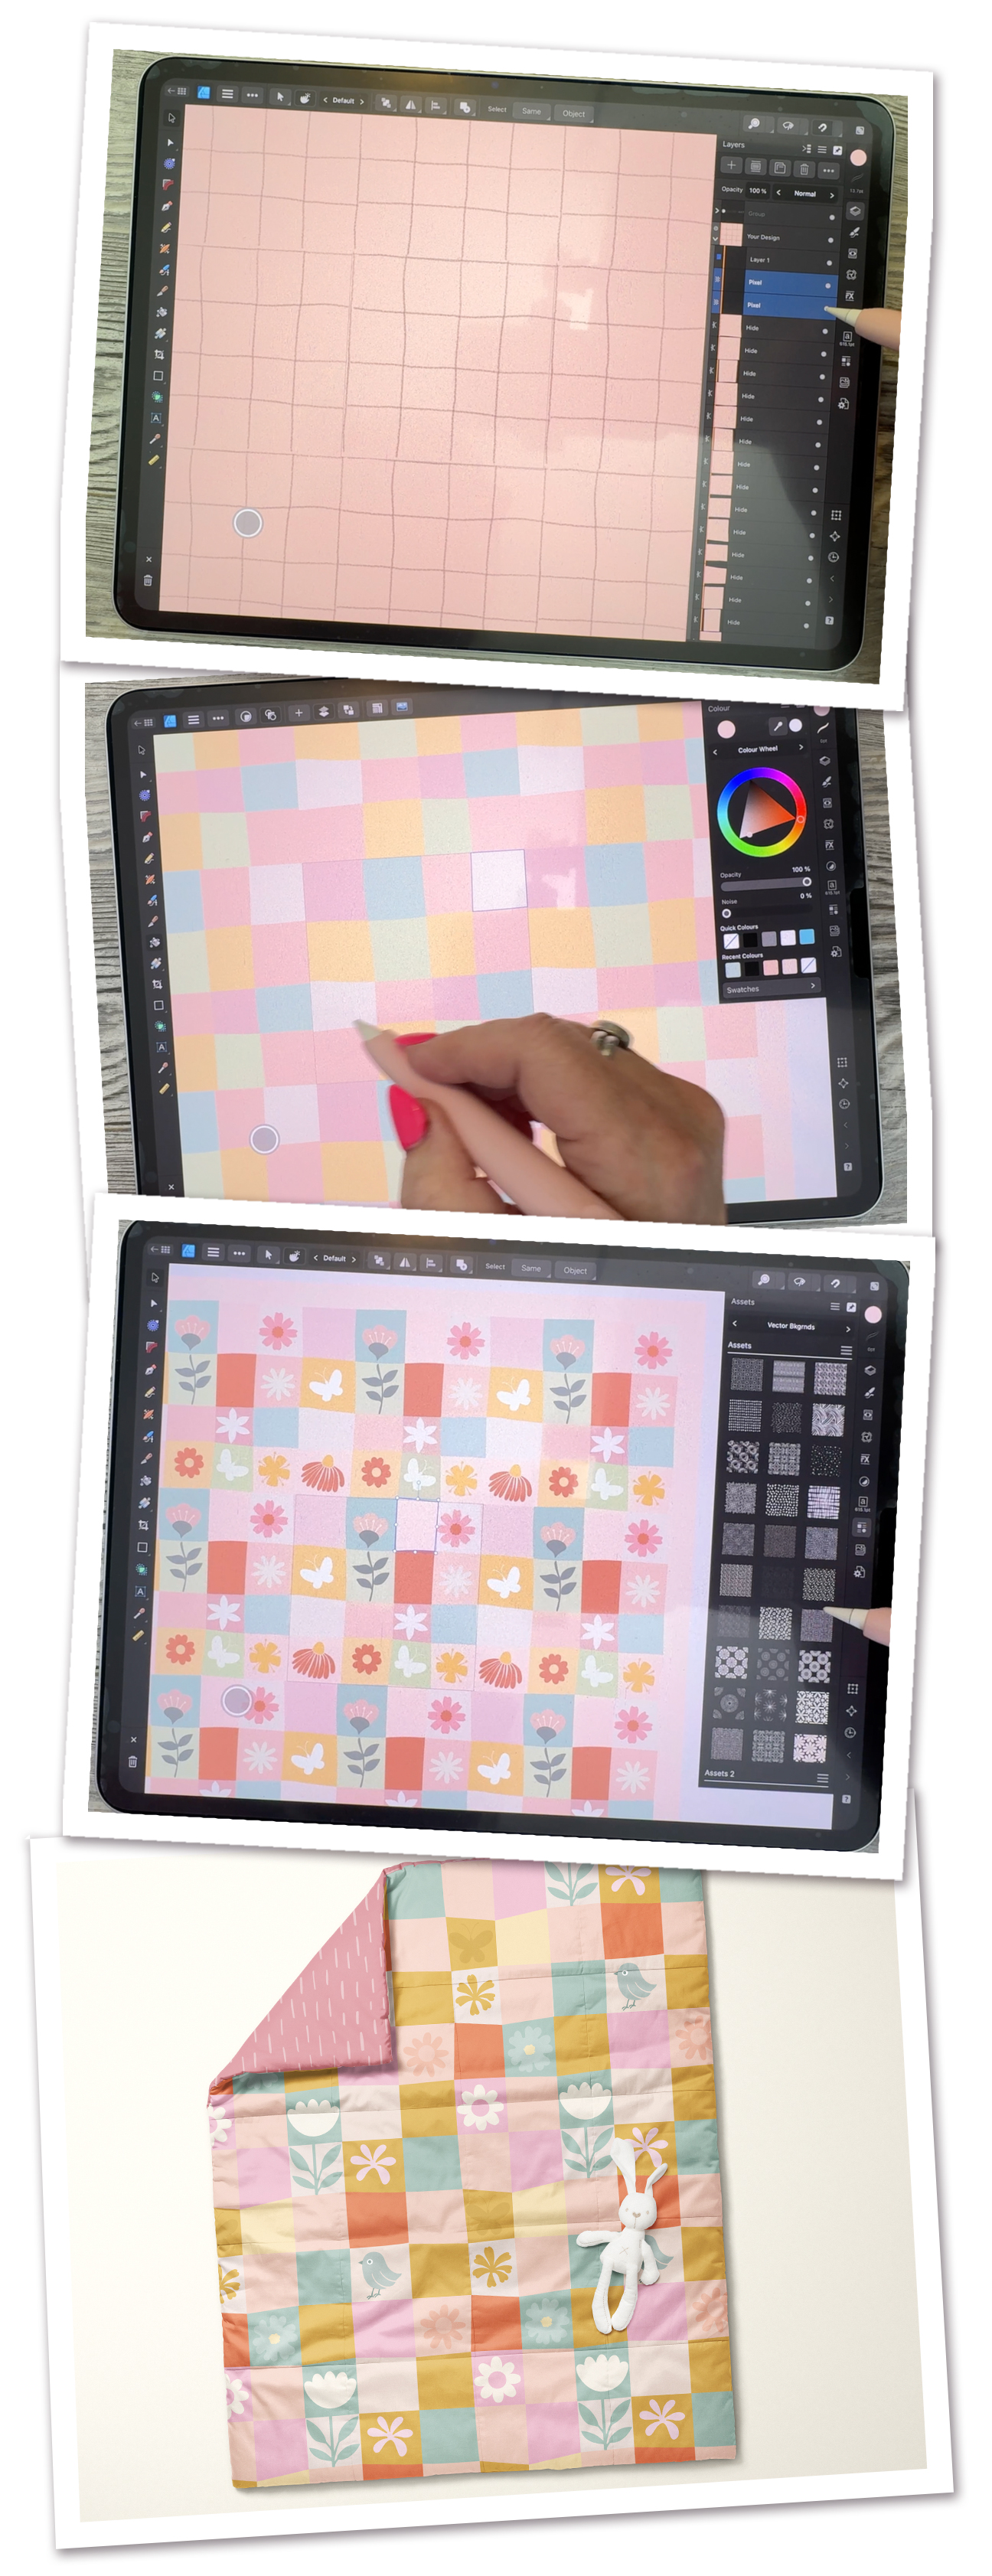
- Setting up a basic full drop repeat
- Sketching a loose guide for the checkerboard
- Cutting the repeat into individual squares with the Knife Tool
- Colouring the squares quickly with Flood Fill
- Adjusting edges, corners, and colour balance
- Adding motifs and checking them across the full repeat
The Key Concepts I Will Include
- Making a complete Knife Tool cut so each checker becomes a separate shape
- Keeping the grid irregular while making sure the edges meet
- Spacing similar colours throughout the pattern
- Using light and dark values to help the checks feel balanced
- Leaving some squares empty to give the motifs room
- Placing motifs inside the repeat so you can judge the finished pattern
You don’t need to make every decision before you begin. Start with the checks, see what the colours are doing, and add only the details that help the pattern.
Example Curriculum
- Intro to AD 087 - Quick Checkers using the Knife Tool in Affinity Designer (1:18)
- Lesson 1 Cut a Full Drop Repeat into Squares (6:37)
- Lesson 2 Flood Fill to Apply Colors to Checkers (6:00)
- Lesson 3: Add Simple Motifs and Finish Your Repeat (8:28)
- Lesson 4 Closing Thoughts: Make the Checkerboard Your Own (1:13)