About This Class
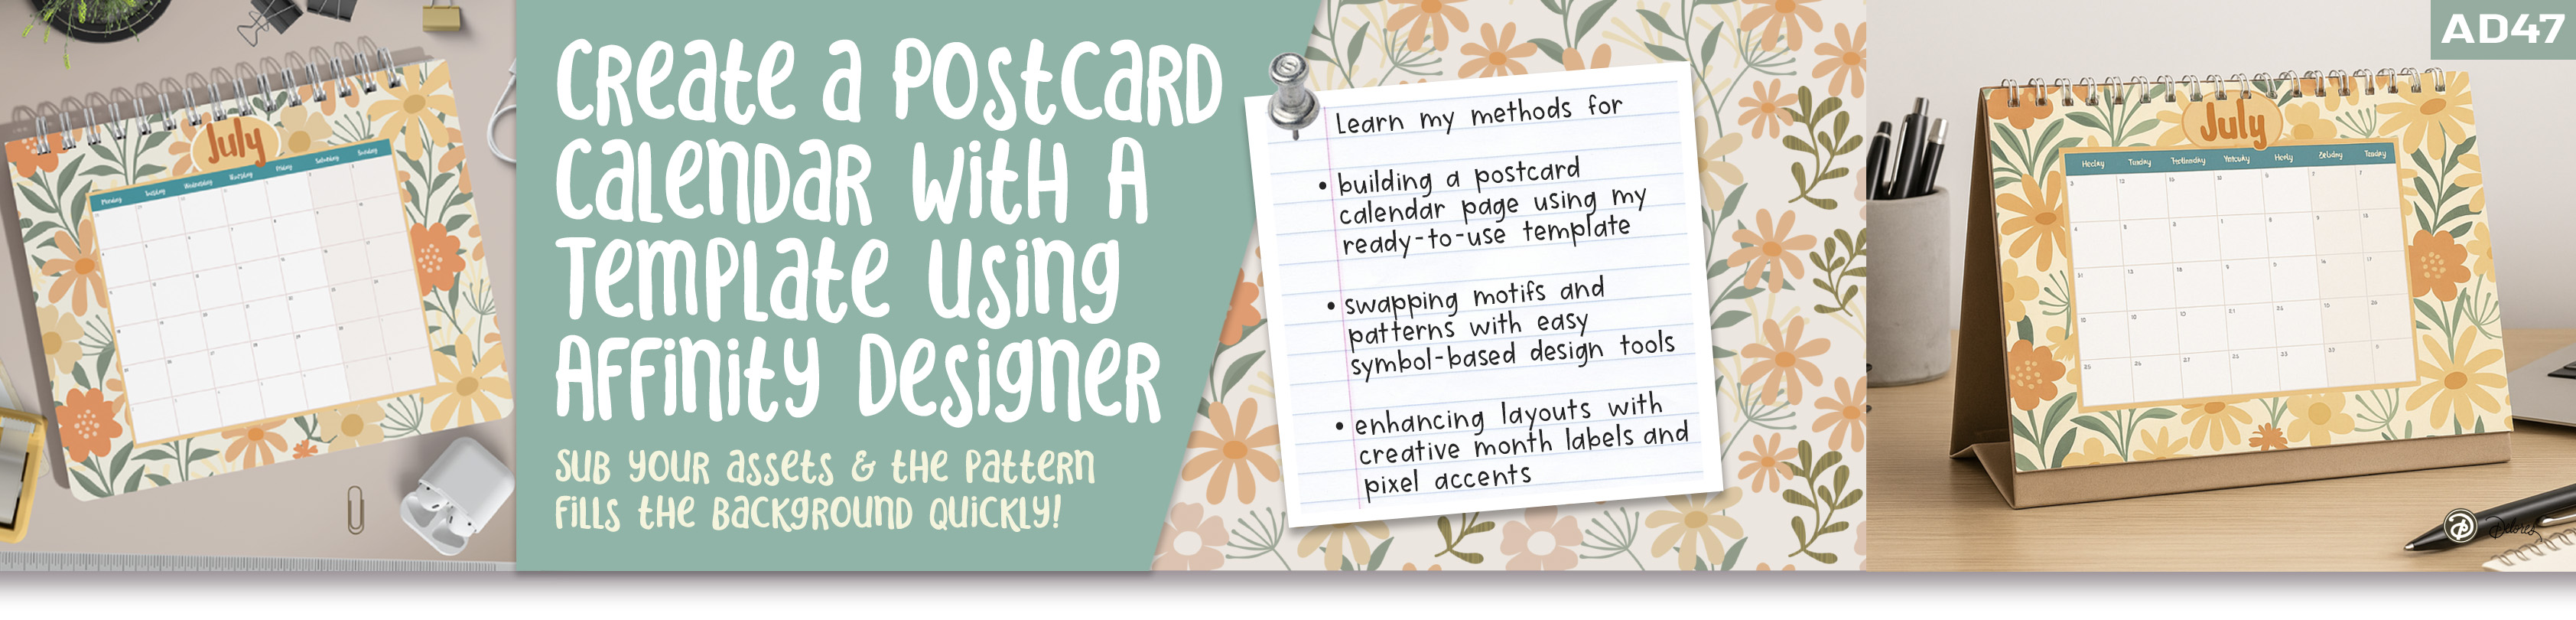
Looking for a creative, practical project that blends art, organization, and hands-on design skills? In this class, “Create an Artsy Postcard Calendar with a Template,” you’ll learn exactly how to use your own artwork in a fun, useful way—with an easily modifiable template that lets you swap out motifs, experiment with colors, and quickly create a unique, stylish calendar on a compact postcard size. Whether you want to make a one-off for yourself or easily design a whole year’s worth for family, friends, or even to sell, this class gives you the foundation, guidance, and assets to make it happen.
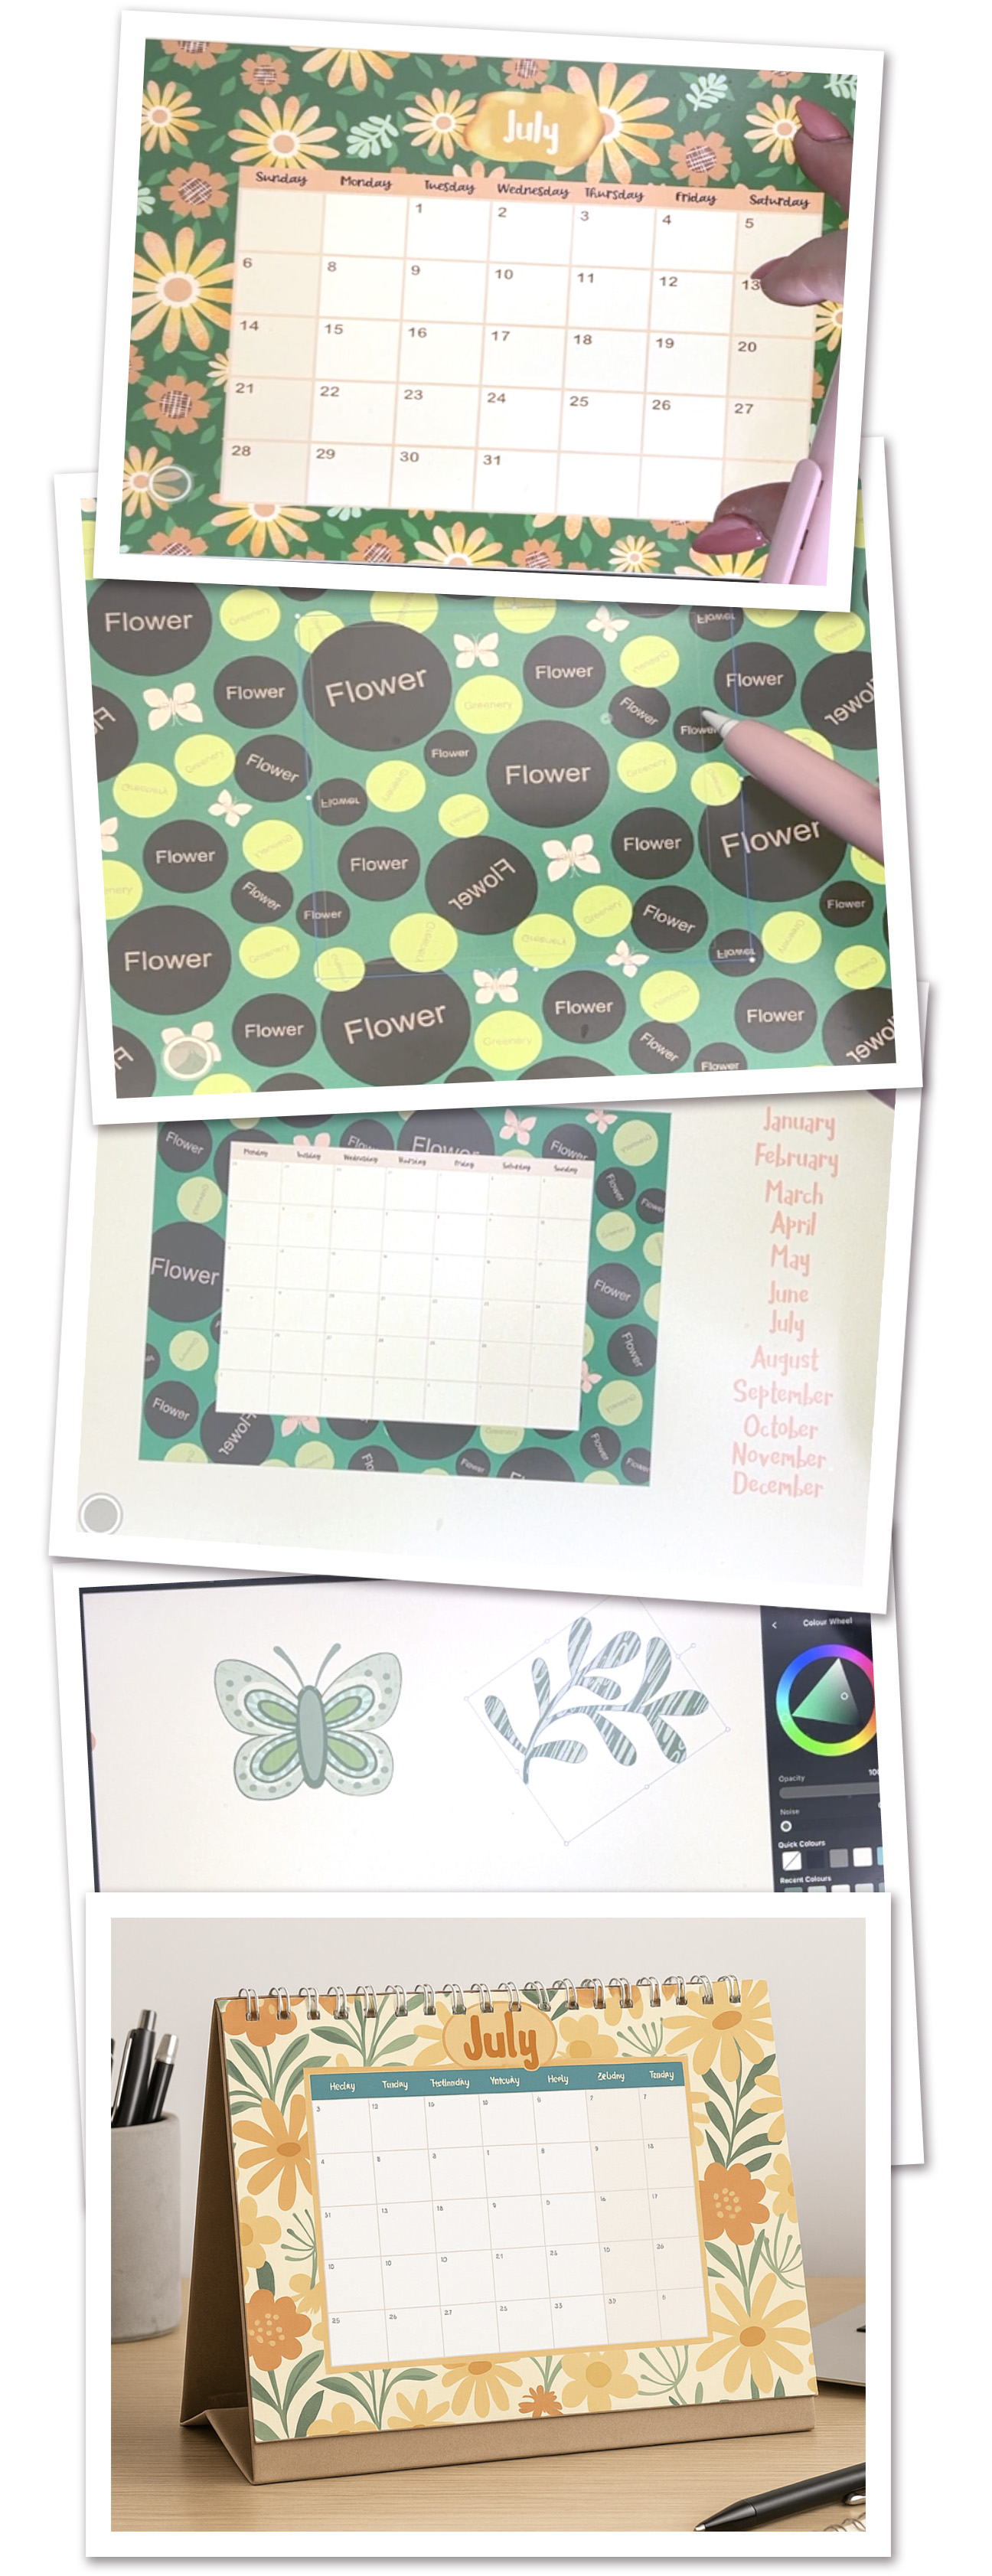
We’ll start by exploring the custom template and how it works, then you’ll learn how to insert your favorite motifs—flowers, greenery, butterflies, and more—to instantly update and personalize your calendar. You don’t need to build these assets from scratch: you’ll get a wealth of elements from my own asset library (flowers, foil effects, greenery, and more) that can be dragged-and-dropped into your design with ease. As you progress through the class, you’ll get practical tips for customizing your layout, organizing your workspace, and quickly adjusting the calendar grid to suit your needs.
Every lesson is packed with actionable steps and creative options: from swapping out motifs, customizing labels, editing type, playing with fills, blending modes, and color, to finishing touches that help your calendar pop. The process is flexible, approachable, and designed to set you up for success—whether you want just one page or a whole collection. You’ll find this class both encouraging and empowering, with lots of room to experiment and make this project your own.
In this class, I’ll walk you through:
- Using my custom Affinity Designer template to create a repeatable, reflected calendar layout at postcard size.
- Swapping in motif assets (flowers, greenery, butterflies, etc.) and adjusting them to suit your own style.
- Editing the calendar grid to match the days and months as you need for your project.
- Experimenting with backgrounds—solid colors, vector patterns, even painterly strokes—to enhance your design.
- Adding pixel-level details and shading to your artwork for extra depth.
- Applying the finishing touches, like month labels and simple tricks to help your text stand out.
- Organizing and grouping elements to keep your document manageable as you build each page.
The Key Concepts I Will Include
Throughout the class, you’ll become comfortable with:
- Working with symbols and assets in Affinity Designer
- Adjusting, swapping, and recoloring motif artwork
- Editing and arranging calendar grids for accuracy
- Managing layers, groups, and organization for easy updates
- Using pixel brushes and blend modes for added flair
- Creating stylish month labels with both vector and raster techniques
- Approaching each step with creative flexibility—no need to follow an exact recipe!
You don’t have to know everything about Affinity Designer to follow along—just a willingness to try things out and a little bit of patience while you learn. By the end, you’ll have a finished piece you can print, give away, or even use as the start of a whole set. Don’t stress about perfection; focus on enjoying the process and making something fun.
The Curriculum
- Intro to 266 AD47 Postcard Calendar (0:54)
- Lesson 1 Getting to Know the Calendar Design Template (8:25)
- Lesson 2 Inserting Floral Motifs into Your Layout (12:42)
- Lesson 3 Arranging and Adjusting the Calendar Grid (10:55)
- Lesson 4 Month Labels Adding and Customizing (10:41)
- Lesson 5 Final Thoughts and Creative ldeas For More (5:12)