What you will learn:
I have been excited to finish my full pattern collection. How about you? There is something just so satisfying about getting the job done! It has been a fun time to experiment with different ideas for producing the coordinates. I went kind of crazy, producing way more than I need. That’s ok! They will come in handy. In fact, I may end up doing two collections with all the patterns.
This class, Creating Coordinates for a Pattern Collection, will show how I developed very different sorts of patterns. I have created a well-rounded group of patterns and I can already imagine the end use. The purpose of designing the collection is to be able to offer the end user many different options. For example, a quilt-maker could have 6 – 10 different options for even the most intricate of quilt patterns. I used the same color palette throughout the three classes as well. Each coordinate contrasts well or matches beautifully, and I have gone to extremes. What I mean by that is I have large scale and small scale, geometric and soft, and light colors to dark colors. A well-rounded collection can and should be adaptable to many different end products.
You will learn a few new things and many of the Affinity Designer skills you have already learned will be reinforced. Each time I do a pattern design class for Affinity Designer, new opportunities present themselves for teaching you advanced skills and efficiency strategies. And I try to always do things in a way that makes it interesting.
In this class I’ll walk you through:
- using your assets from the Asset Studio to make a new pattern
- creating a unique geometric pattern
- creating stripes using two completely contrasting techniques
- tips for creating compositions for a new iteration of the hero pattern
- adjusting colors until satisfied with a color scheme and keeping it simple enough to edit later
How a surface pattern designer works is the main focus of the class. Creating collections is key to being a surface pattern designer whose work is in demand. With these pattern design classes, I am creating a continuum of learning that, once complete, will give you the skills necessary to pursue this as one of your possible alternative income streams.
Oh! And did I mention there’s a surprise? You will have to watch the whole class to see what it is!
The key concepts I will include:
- review of pattern design methodology specific to Affinity Designer
- how decisions are made with placement of motifs and color choices to produce coordinates and blenders
- approaches you can take moving forward with your surface pattern design career
This class takes you into Affinity Designer for finishing up the surprise, but I have also included a Procreate version for those of you who are working strictly in that software. This workflow may be different for you if you use other software, but all the concepts are applicable for you. If you’ve used Procreate or Affinity Designer before, you will feel comfortable with all the steps.
Concepts covered:
Concepts covered include but are not limited to creating blenders and coordinates, creating stripes, the rectangle tool, the pencil tool, Procreate inking techniques, vectorizing a raster image, expanding a stroke, filling an expanded stroke with a simple pattern, creating color schemes, pattern arrangement, adjusting motifs, the path tool, the node too, the move tool, shapes, color swatches and importing colors, Affinity Designer Asset Studio, Affinity Designer Vector Persona, layering, Affinity Designer Transform Studio, Affinity Designer pattern design, Affinity Designer Color Studio, texture bitmap fills, and much more.
You will get the bonus of…
- 1 hour and 13 minutes of direction from an instructor who has been in graphic design business and education for over 40 years
- knowledge of multiple ways to solve each design challenge
- an outline which you can print and add to your course binder
Project Description
Start by being sure your Asset Studio is fully loaded with motifs. Your challenge is to create three different patterns to complete a mini collection. Try your hand as using your assets initially, for a pattern or two. Try one with a variety of motifs, up to ten, and then try one with only two or three. Lastly, try producing a geometric pattern. It can be the triangles idea, or you can try any other geometric shape. The key is to make it a good contrast. Be sure to vary use of color but keep it to the color palette of your hero. I can’t wait to see it all on the surprise from Lesson 7!
The Curriculum
- Intro to AD9 Coordinates in Affinity Designer (2:01)
- Lesson 1 Inspiration and Overview (8:27)
- Lesson 2 Creating Stripes with Two Methods (9:47)
- Lesson 3 Adding Interest to A Stripe (10:51)
- Lesson 4 A Triangle Pattern and Variations (11:37)
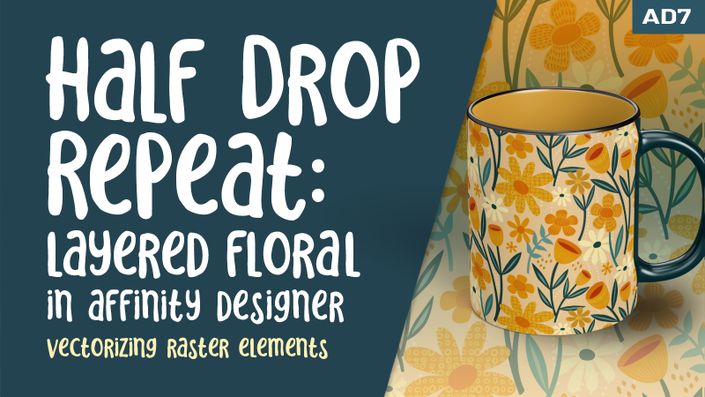
- Lesson 5 Half-Drop Floral Coordinate (10:07)
- Lesson 6 Create a Less Detailed Floral Coordinate (8:22)
- Lesson 7 Bonus Lesson with a Free Download (8:39)
- Lesson 8 Conclusion, Pep Talk and Wrap Up (3:02)